


Within this step by step Adobe Photoshop tutorial we will talk you through how to turn you logo into an amazing 3D style logo that will impress you. In This tutorial there will be blur effects, shadow effects, burn effects and smudge effects!
Anyway lets get on with it!
Step 1
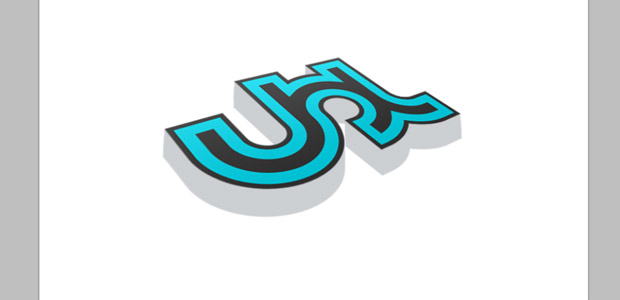
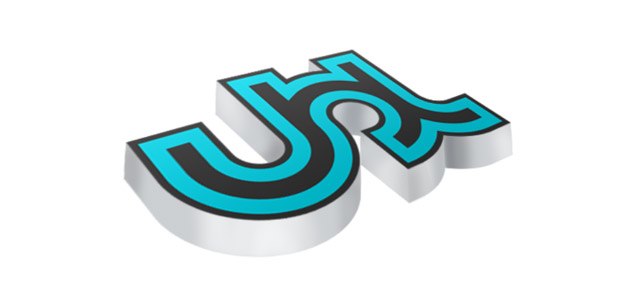
Make a new document, ive done one which is only 800px x 800px. Now put the logo you want to make 3D on your canvas, ive used our logo!
Step 2
Now Keeping your fingure on the Ctrl button, hit the T key.
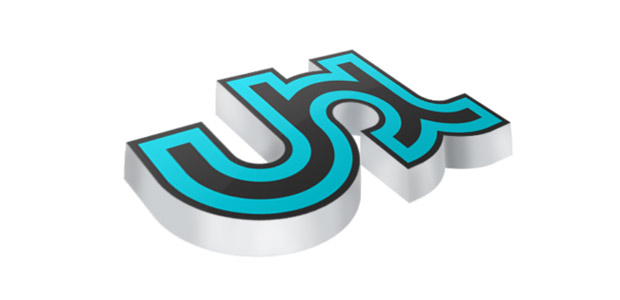
Now right click on your mouse and and select skew. Once you have done that skew your logo so it is something like this.


Step 3
Click the background layer and then click the add new layer button within your layers panel
Keeping your fingure on the Ctrl key, click on the logo image within the layers panel, like the image below.


now you have selected to highlight your logo like the image above, making sure you are still on the layer.
click the background colour and set it to #cccfd2, now hit the M key (Marquee Tool) and now holding Ctrl and hit backspace. press the down key on your keyboard so your marquee moves down 1px and press down, and holding the Ctrl key hit backspace again, press down on the keypad and Ctrl and backspace again... Do this a few times untill you have an image like below!

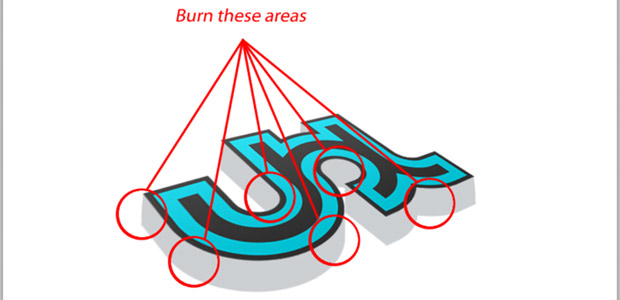
Keeping on the same layer press the O key (Burn Tool) and select the actual burn tool, find where your logo will have slightly darker areas and make a shadow effect, on my logo the darker areas would be like the image below.

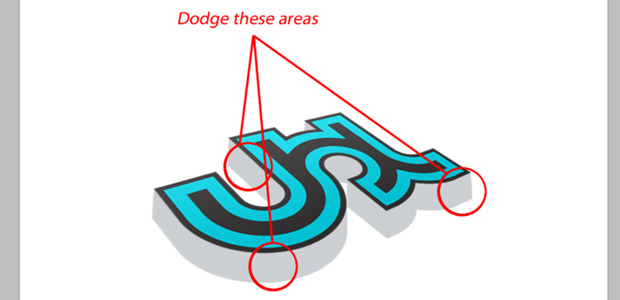
now select the dodge burn tool and find where your light areas will be and make it lighter, my lighter areas on my logo are as below.

you should have an image that looks good now..


Step 5
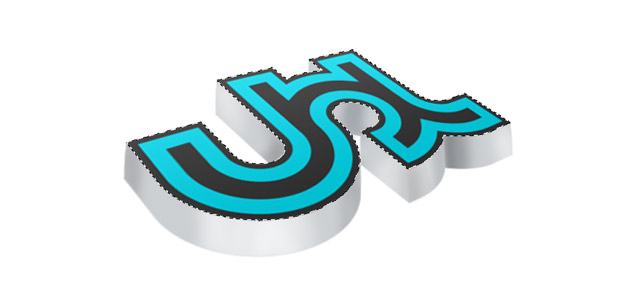
Make a new layer above all layers and then highlight the logo layer by keeping your fingure on the Ctrl key and clicking on the logo image within your layers panel. YOu should have an image like below.

now making sure your forground colour is set to black and background colour is set to clear hit the G key (Gradient Tool) and drag from the bottom right to the middle of your logo. Now set your layer opacity to between 5-10%, you should have something like:

Step 6
now creat a new layer above all and highlight the logo again. Making sure your forground colour is white and your background is clear, hit the G key (Gradient Tool) and drag from top left to center of the logo and set the opacity to 5%. you should have something like:

Step 7
now select the logo layer and grab the "blur tool" and set to normal and strengh of 20% and just blur the top right slightly so you have the effect like below.


Final Step
Go down to your layer 1 which should be the grey 3D which you was burning and dodging on and drag it to the duplicate icon at the bottom of the layers panel. Now select the layer one, not the layer 1 copy and just drag it down so it looks like a reflection... Add a layer mask to the layer and making sure your forground colour is black drag from the bottom of the page to just into the image... set your layer to 50% opacity and you have now created a cool 3D logo!
If you liked this tutorial please tweet about us!


No comments:
Post a Comment